
Everyone wants a perfect piece of art when it comes to digital art. There was a time when everything used to be so difficult. Only professionals were able to craft the best designs by using digital platforms.
However, things have changed with time. Thanks to the growing digital world and advanced technology. There are so many options available online if you want to create a project. The best part is there are some cool tools that can help you craft some outstanding designs.
In this case, my favorite is GIMP. Launched in 1995, GNU Image Manipulation Program is one of the best free digital art platforms right now. The good thing is you can use this app on various devices.
The thing I loved most about GIMP is it has so many features, fonts, and other options. Whether you are a beginner or a pro designer, this app will be very helpful if you are up for quick edits. In fact, some people also use this app for professional projects.
If you want to use GIMP for professional projects, you might need some custom fonts. Well, using custom fonts is very easy in GIMP. If you have been looking for a guide on how to install custom fonts in GIMP, you are at the right place.
Well, it’s very easy to add fonts in GIMP. You just have to follow some simple steps in this case. In this guide, I will share two easy methods. If one doesn’t work, you can implement the other one. Moreover, I will also share some reliable websites for custom font downloading. So, let’s get started.
Don’t miss: Create Retro Wavy Text Effect in Gimp
Step-By-Step Guide to Add / Install Custom Fonts in GIMP
As I mentioned before, it’s simple to install custom fonts in GIMP. In this case, you have to choose a reliable website for downloading fonts. After that, install that font on your device and start applying my methods.
I have seen many users face some issues while installing new fonts in GIMP. That’s why I will share an alternative method as well. Keep reading to learn more.
Method #1: Install For All Users
By following some easy steps, you can install custom fonts in GIMP. In the following guide, I will share the easiest method to install fonts in this software. Let’s find out:
Step 1: The first thing you have to do is download a free font from a website. In this case, Google Fonts is the best choice. Go to the official website of Google Fonts and click on the ‘Available to everyone’ option.
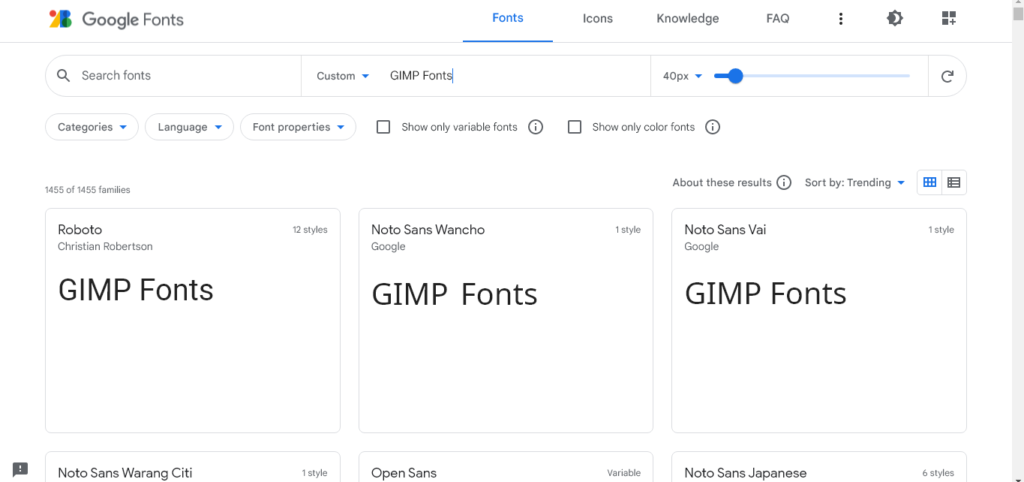
Step 2: Keep scrolling and find a suitable font from the list. You can also type your text to get the perfect outcome. For example, I am choosing the ‘Lobster’ font for this guide. Click on the font and then click and you will get all the information. You can also go for a typing test.
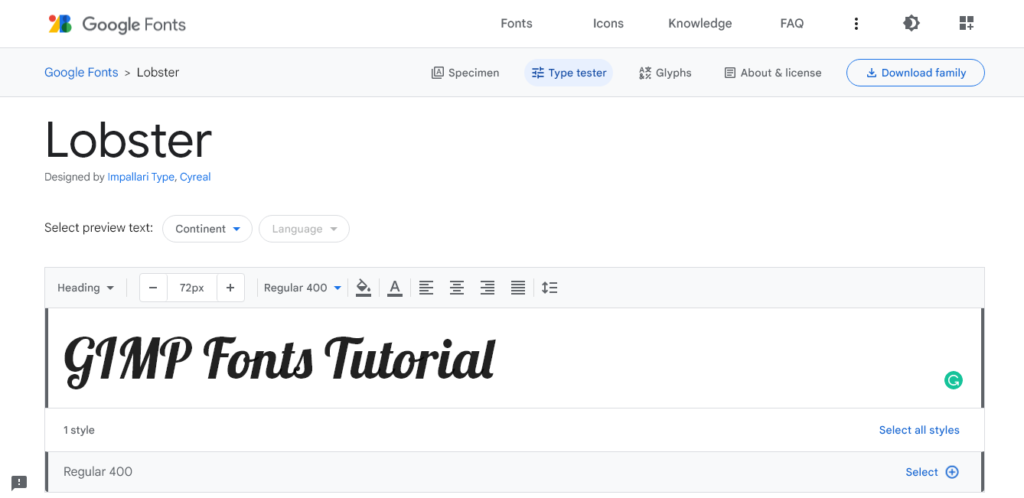
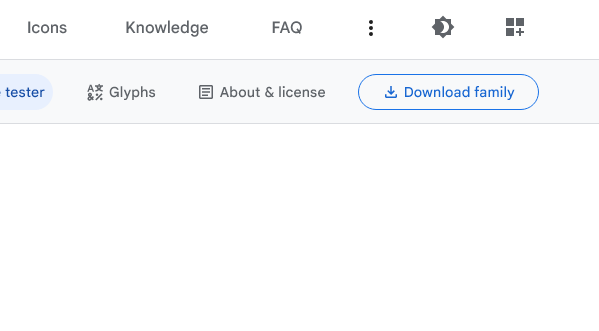
Step 3: After checking all information, it’s time to download it to your device. To do this, go to the ‘Download Family’ button on the right side of your screen and click on it.
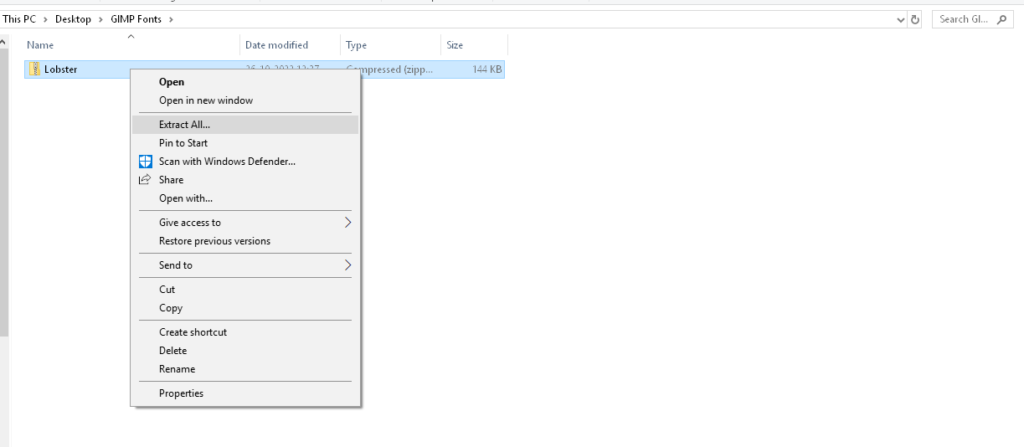
Step 4: The font will be downloaded as a zipped folder. If you want to use this font for GIMP, you have to unzip it first. To do this, go to the file location and right-click after selecting the file. Then, select the ‘Extract All’ option to extract the zipped file. Make sure you delete the zipped file after completing this step.
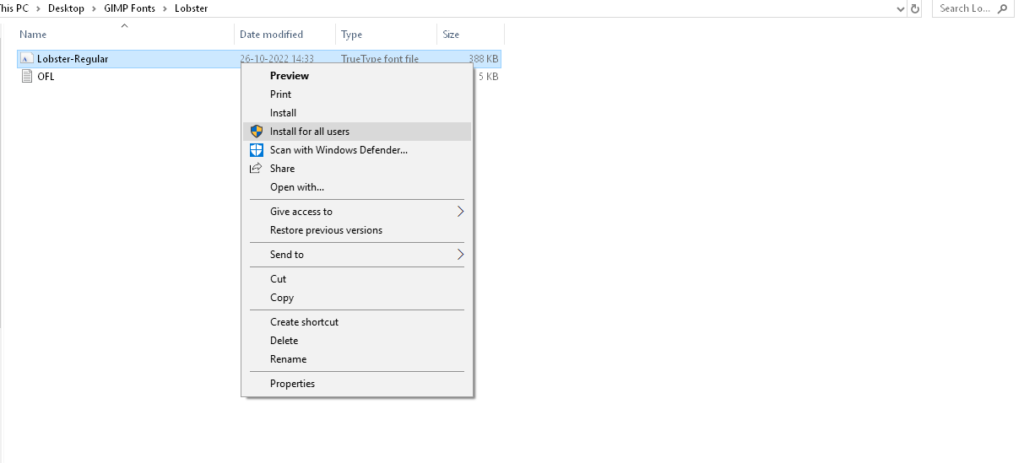
Step 5: To install the font on your computer, you have to click on the extracted file and select the file that has the font. Now, right-click and select the ‘Install for all users’ option.
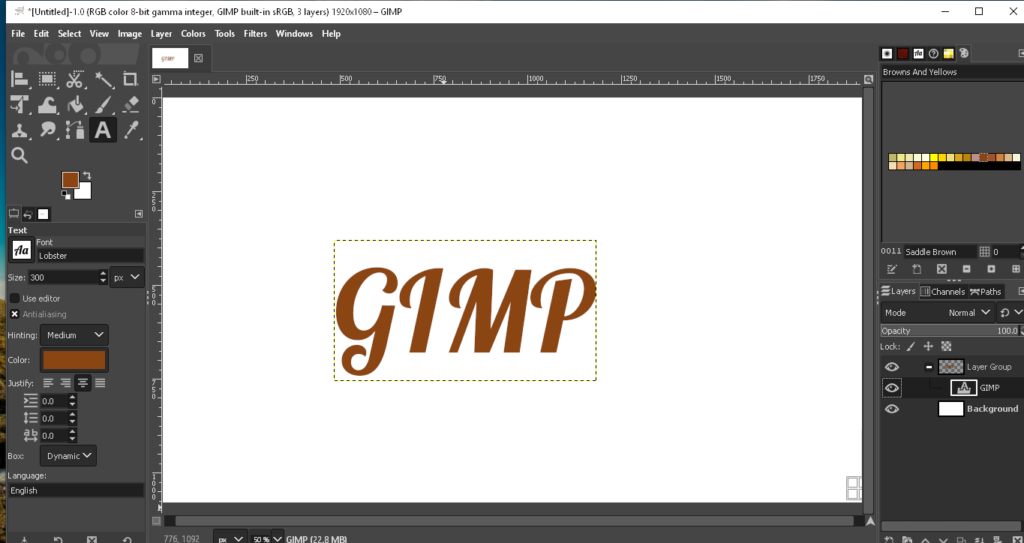
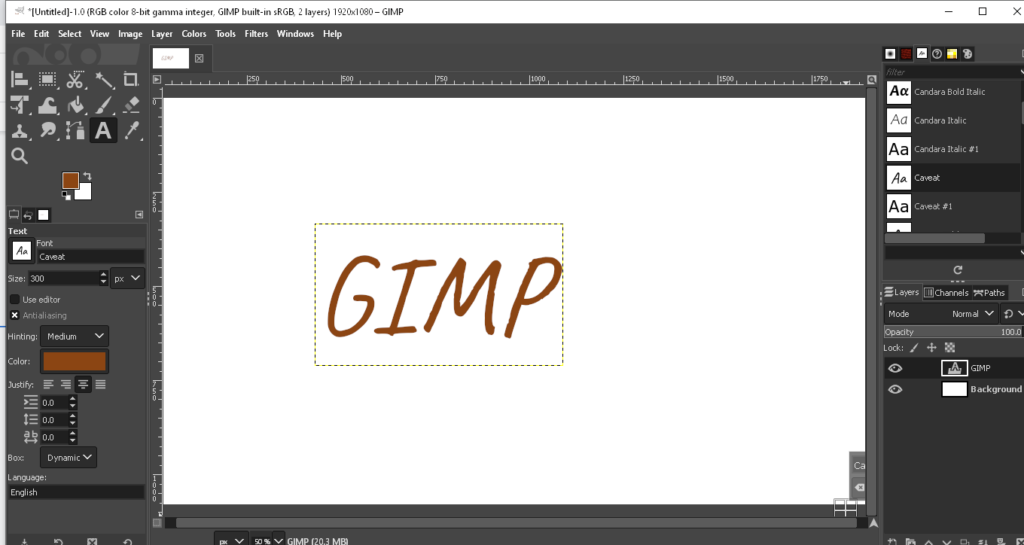
Step 6: Now, open the GIMP app and click on the ‘A’ icon to find the newly downloaded font. Keep scrolling until you find the ‘Lobster’ font. Select it and you can use it for your new project.
Method #2: Using Fonts Folder
As I noted before, the previous one is the easiest method to install a font in GIMP. However, if the method isn’t working, you can try out another one. In this case, you can download another font from the Google Fonts website. Let’s find out how to implement the second method:
Step 1: First, open the GIMP app and go to the ‘Edit’ option. Scroll down and select the ‘Preference’ option. It will open a window.
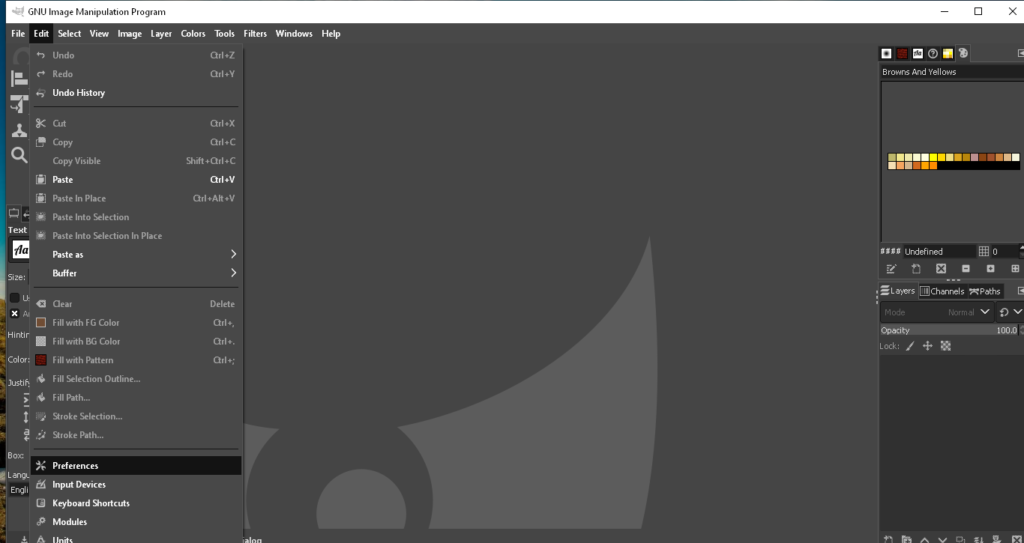
Step 2: Now, keep scrolling the left side menu until you find the ‘Folders’ option. Double-click this option to expand the menu. From there, click on the ‘Fonts’ option.
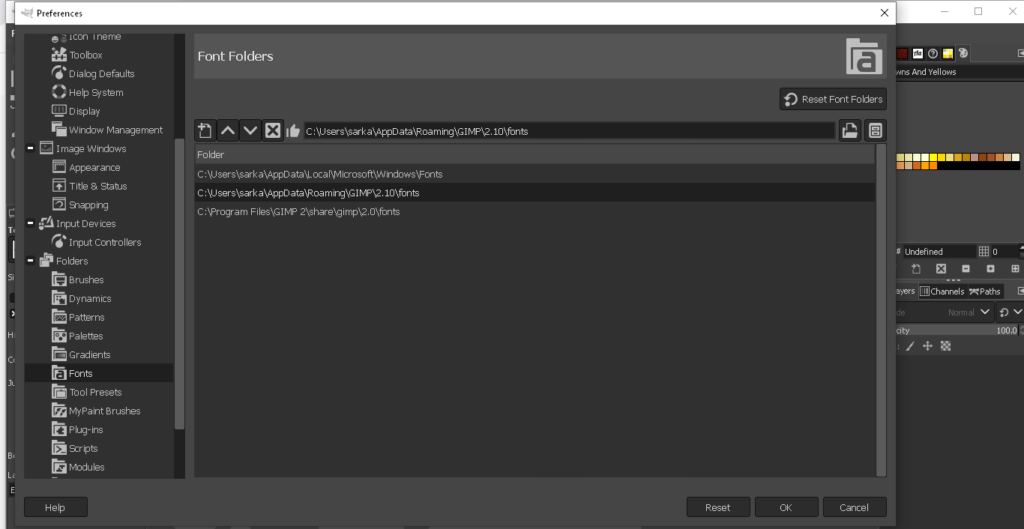
Step 3: After opening the option, select the middle file. Then, go to the ‘Show file location in the manager’ option and find your folder there. Go back to the downloaded font folder. Click on the top one and Shift+Click on the bottom one to select all fonts.
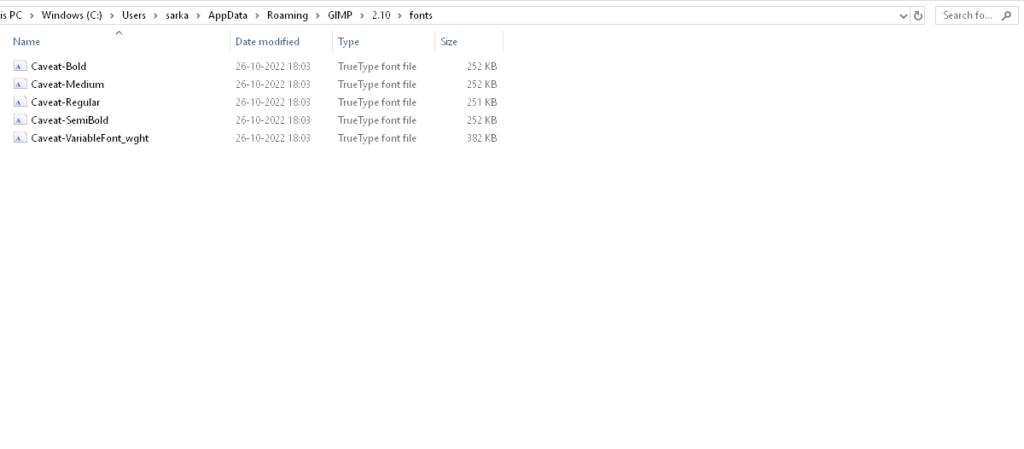
Then, press ctrl+C to copy all fonts. Go to the previous file in the file manager and press ctrl+V to paste fonts there.
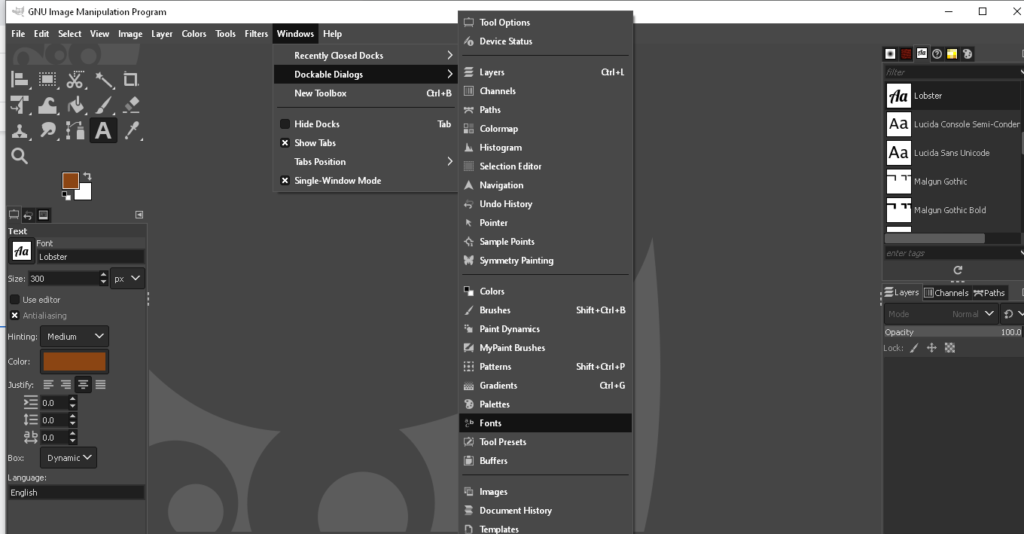
Step 4: Come back to GIMP and click on the ‘Windows’ option from the top menu. Go to the ‘Dockable Dialog’ option and select the ‘Fonts’ option.
Step 5: From the right panel, you can find the downloaded font. Select it and use it for your new project.
Where To Find Fonts for Gimp
Now, the question is where to find the right custom fonts for GIMP. The best website is Google Fonts. This is a free website that has over 1400 collections. Go to the website and select a suitable font as per your preference.
If you are up for an alternative for high-quality fonts, you can choose Creative Market (Affiliate Link). You can purchase a font as per your preference.
Or check out our Best Fonts collection for eye-catching free and paid fonts
Conclusion
You see, installing fonts in GIMP is very easy. It takes less than 5 minutes if you follow the right steps. However, if these two methods are not working, you can reach out to the GIMP customer support team. For more details regarding this app, you can visit the official website.
Related Posts: