
There is no doubt that digital painting has become an integral part of our digital world. Digital painting has become increasingly popular, from designing vectors to creating logos for websites. Online tools are extremely useful in this case.
Krita is one of the most amazing 2D digital painting tools right now. It’s free and open-source software that runs on Android, Windows, macOS, and Linux. Most users love this app because of its advanced features. Be it Krita curve text or wrap text, you can do everything for free.
There is no online tool available for users. If you want to use Krita, you can download it from the official website. After downloading the software, you can install it on your device. If you want to curve text by using this app, you have to follow the right steps.
In this article, we will share the step-by-step guide on how to curve text in Krita. We will share two methods for two purposes. Keep reading to learn these two methods. So, let’s get started.
Step-By-Step Guide to Curve Text in Krita
As we noted before Krita is a popular vector graphic software. You can create advanced designs by using this app. If you want to bend text in Krita, you can follow the right steps. In the following list, we will share two methods that will teach you how to curve text in Krita. Let’s find out:
Method 1: For Pixels/Bitmaps
In this method, we will share how to curve pixel or bitmap text by using this app. Keep reading to follow each step:
Step 1: First, open Krita software on your desktop and create a new artboard. You can customize the size as per requirement. Select the ‘Create’ button.

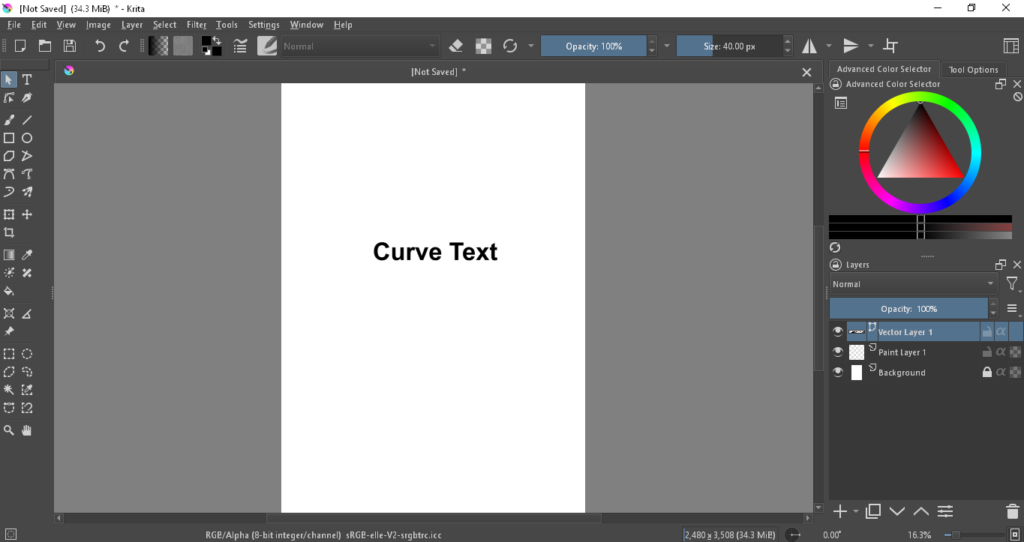
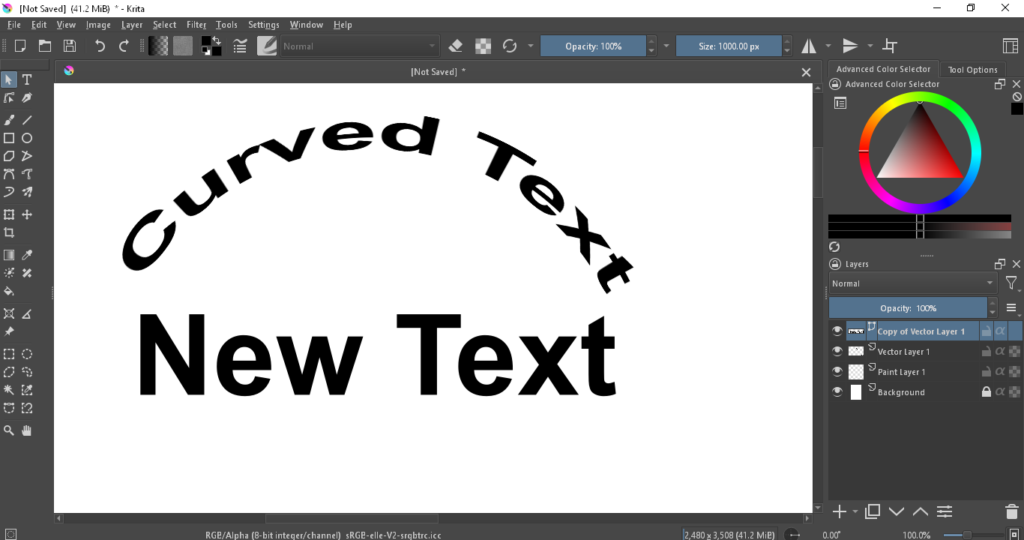
Step 2: Next, you have to write something on the artboard. You can select the size and font as per your preference. To write something, click on the ‘T’ icon on the sidebar of your screen.
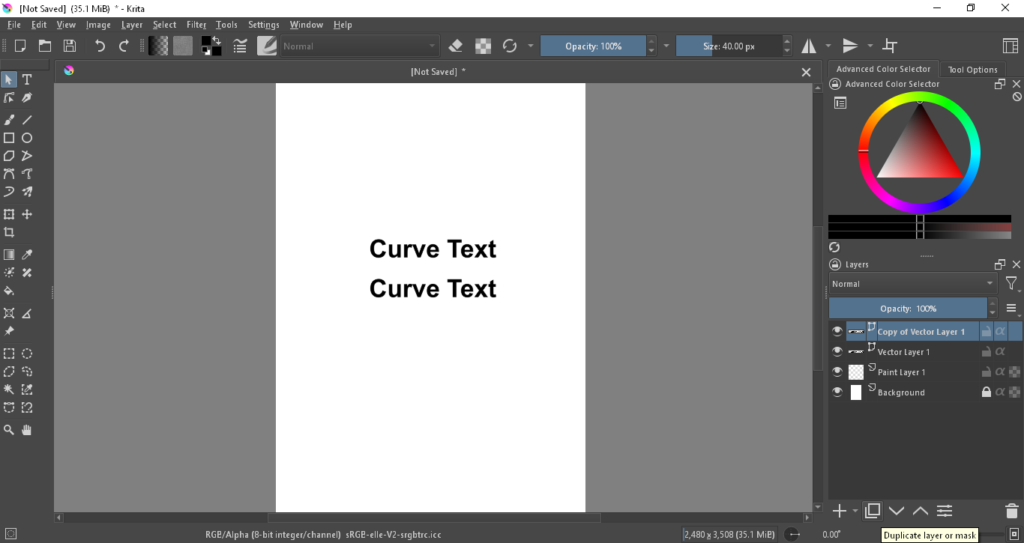
Step 3: Now, you have to duplicate the text. To apply this step, locate the duplicate icon in the lower right corner of your screen.
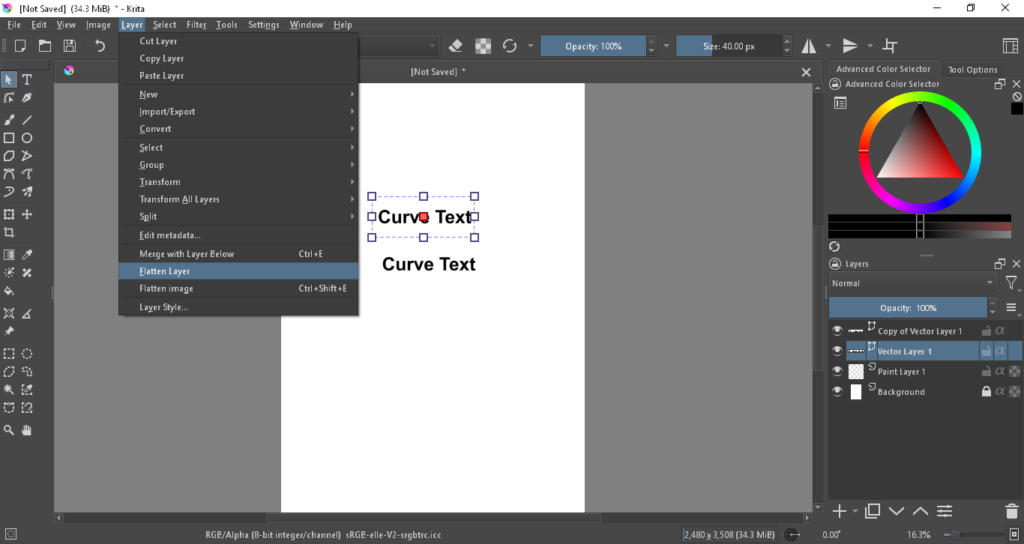
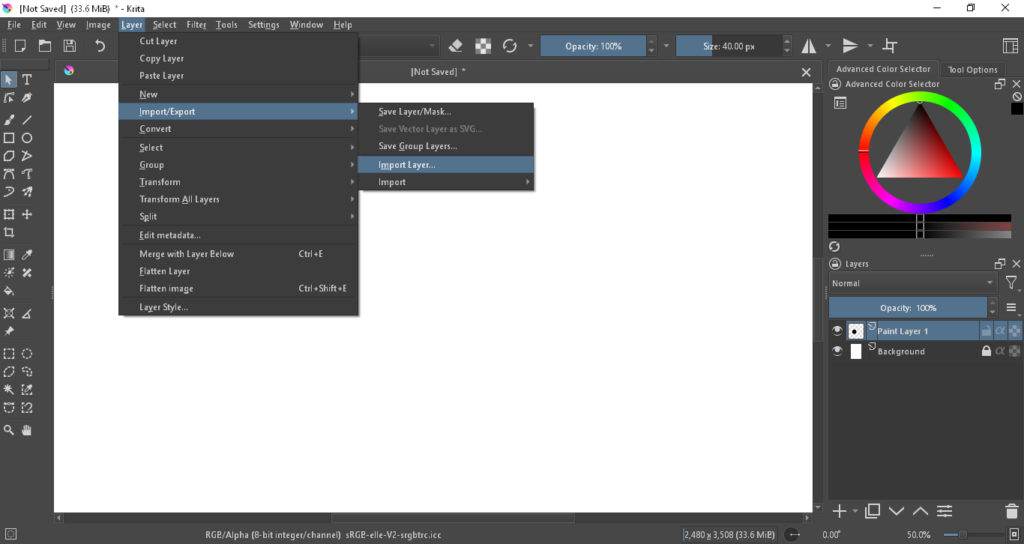
Step 4: After duplicating the text, make sure you change one of these texts. When you are done with changing the second text, you have to rasterize the text layer. To do this, go to the ‘Layer’ option on the upper bar. Scroll down and select ‘Flatten Layer’.
Step 5: Next, go to the ‘Filter’ option and select ‘Start G’MIC -Qt’. It will open another window. You can curve your text here.
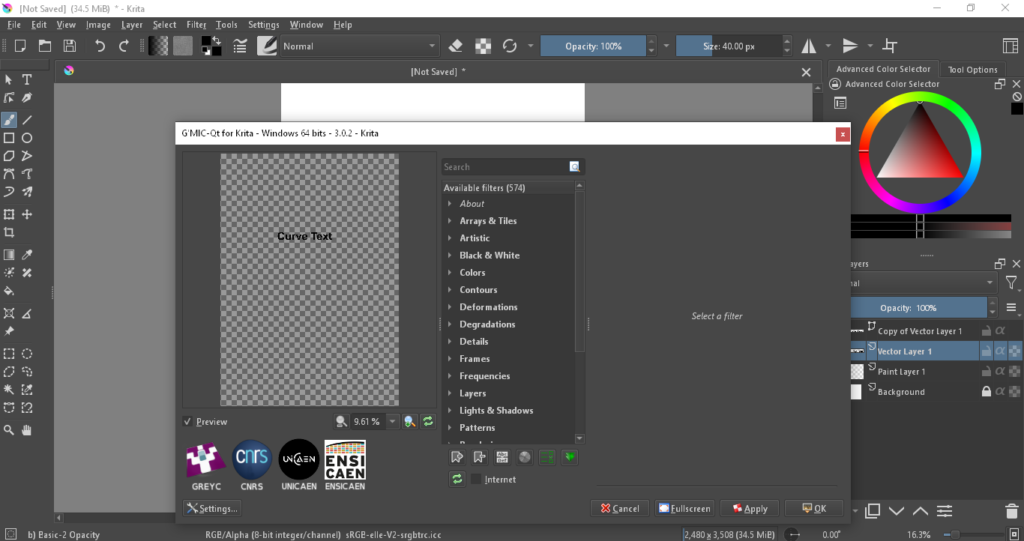
Step 6: Now, you can find several options in the ‘Available Filter’ section. Scroll down until you find the ‘Deformations’ option. Under that option, select ‘Sphere’.Set radius, dilation, and angle as per your preference.
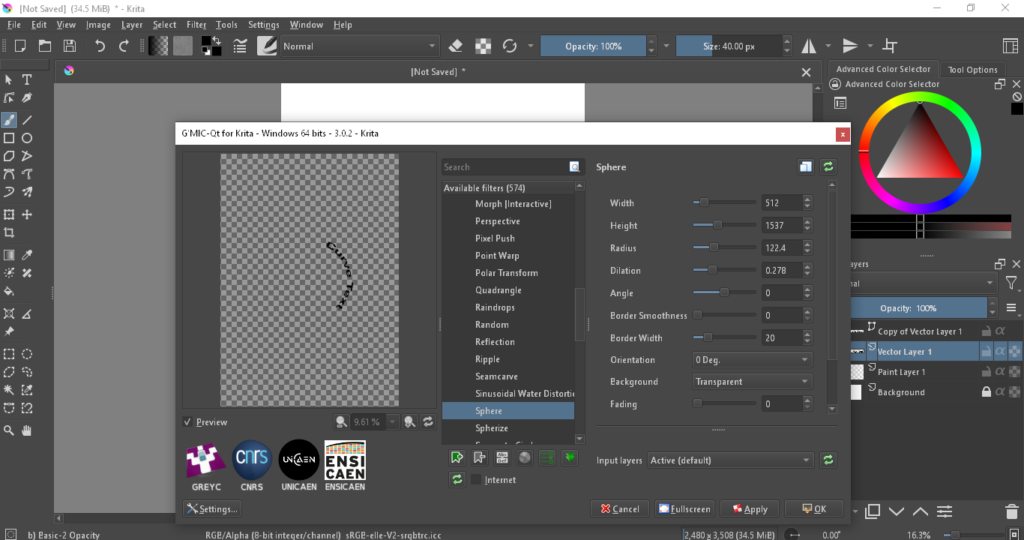
Step 7: After doing this, select ‘Apply’ and then click on the ‘Ok’ option. Next, adjust the second text with the curved text. You can also curve the second text by applying the same steps.
Method 2: For Vectors
Besides pixels, you can also curve texts for vectors. Well, it can be a bit tricky. In this case, you have to keep patience and implement each step carefully. In the following guide, we are sharing all the steps:
Step 1: Open the Krita app on your desktop. Next, select ‘New File’ to open your artboard. You can customize the width and height as per preference.
Step 2: In the second step, you have to import a vector image from your device. To apply this step, go to the arrow sign at the top left sidebar on your screen.
Step 3: Next, you have to click on the ‘Layer’ option at the top bar. Scroll until you find the ‘Import/Export’ option. Then, select the ‘Import Layer’ option to choose a vector file from your device.
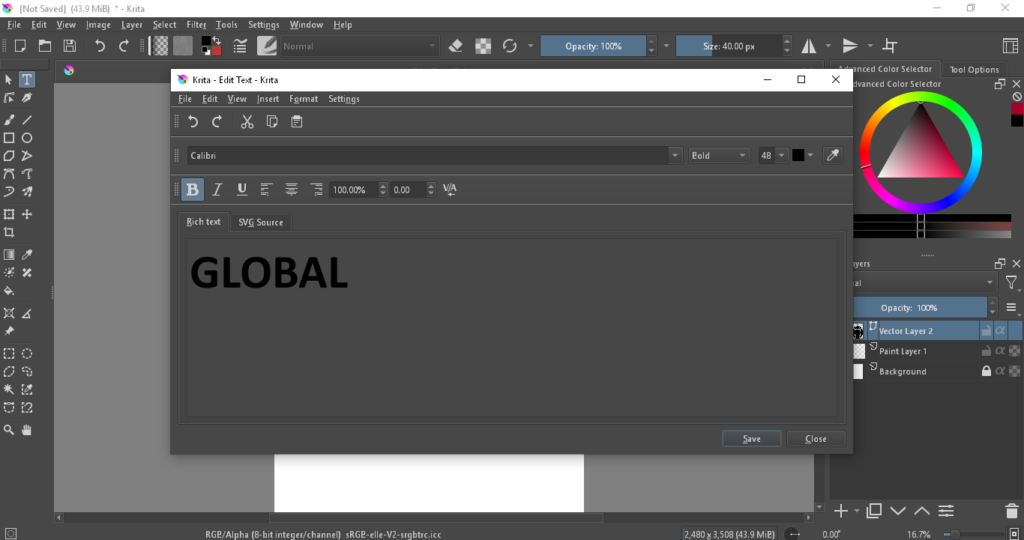
Step 4: After importing the vector, you can change the color as per preference. Next, you have to add text. To do this, select the text icon from the left sidebar on your screen. You can also change the font, color, and size of the text. After doing this, click on the ‘Save’ button.
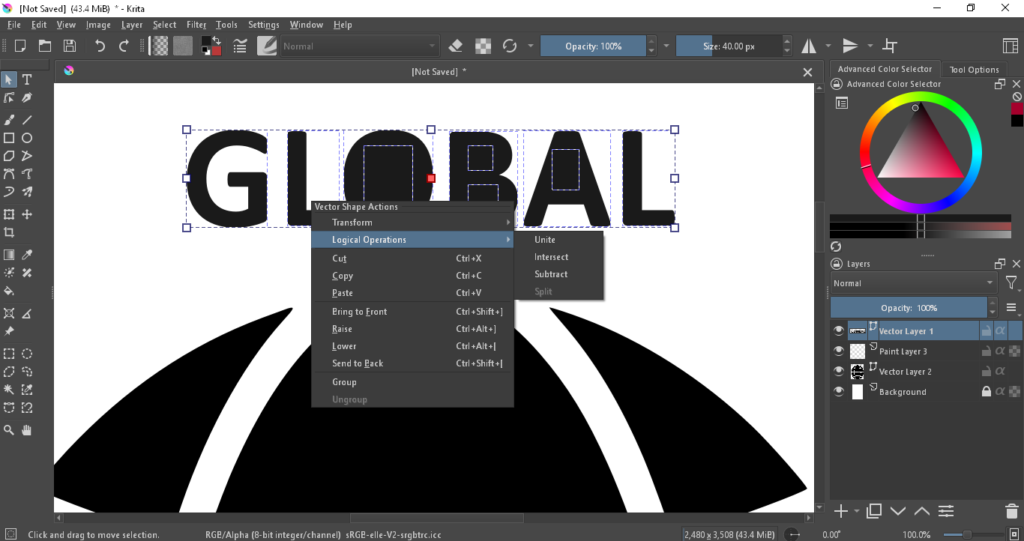
Step 5: It’s the most crucial step as you will curve the text. To start this step, go to the ‘Edit Shapes tool’ option on the left sidebar of your screen. Next, go to the ‘Select Shapes Tool’ option and right-click to select ‘Logical Operations’. Then, select ‘Spilt’.
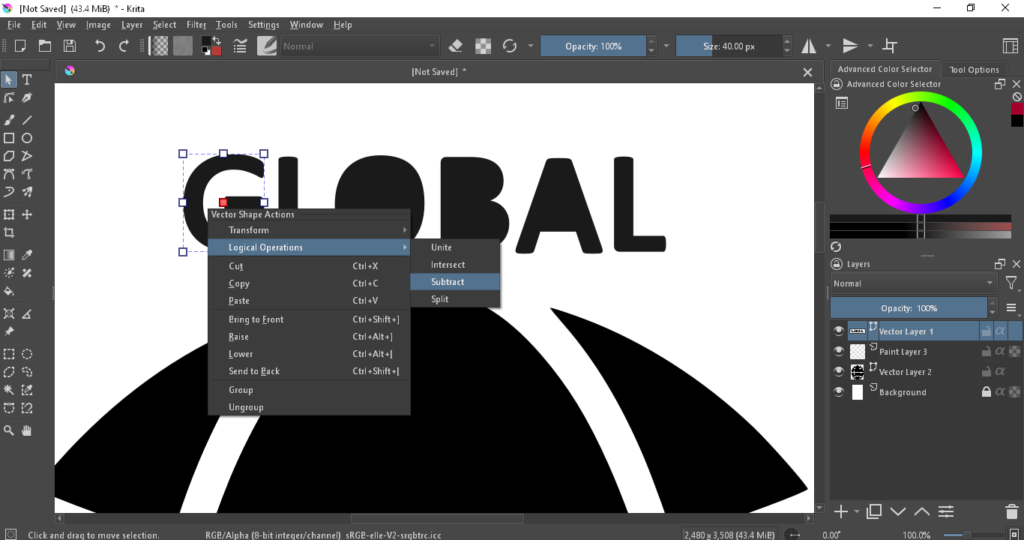
Step 6: Next, select a letter and click on the ‘Select Shapes Tool’ option. Right-click and select ‘Logical Operation’ again. Click on ‘Subtract’. Make sure you do this process with each letter.
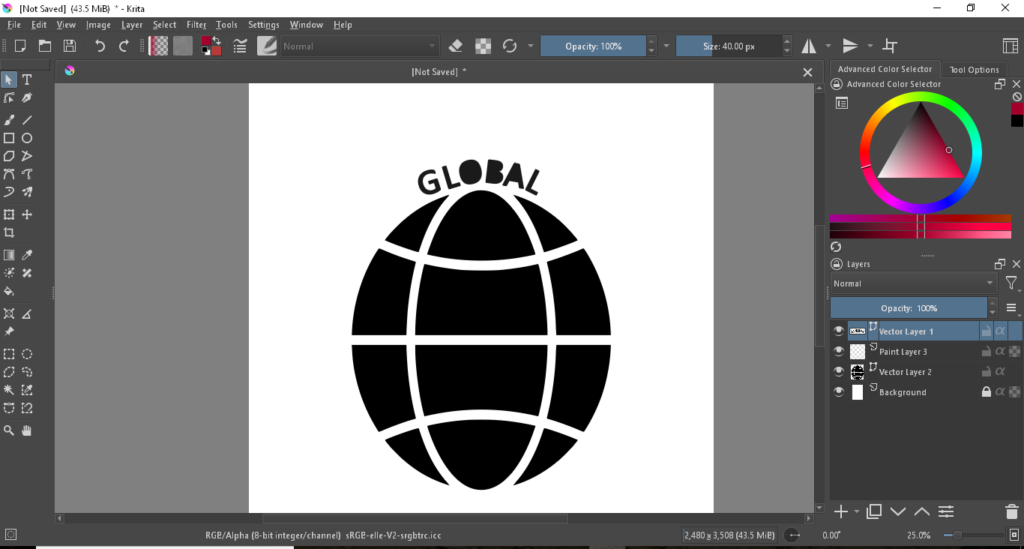
Step 7: You have to select each letter and curve them. It’s an easy step. You can curve these letters as per preference.
How Do I Use Gmic In Krita?
G’Mic is one of the best features of Krita software. You can do advanced-level digital printing by applying this feature. GREYC’s Magic is an open-source filter that is only available for Windows and Linux users.
To get this feature, you have to update the latest version of Krita. When you want to curve a text, G’Mic can be very helpful. You can adjust the width, height, angle, and other things by using this option.
Conclusion
Curving text or vector text by using Krita software is easy. However, you have to follow each step carefully. We have shared two useful methods to curve text in Krita. If you need more help, you can watch a couple of tutorial videos.