
Do you want to make a circular text in Figma?
Unfortunately, Figma does not have a function for rounding the texts. We’ve found a simple trick to curve text in Figma. Simply type your text in the box, press ‘Apply,’ and you’re done. You can choose from several plugins for this purpose.
For this tutorial, we chose Arc because it’s free and easy to use.
Figma was designed mainly for UI designing, however, due to its ease of use and features, designers started using it for other purposes as well, including posters, social media designs, prototyping, logo design, etc.
Suppose you’re designing a badge logo inside Figma, You need to curve the text for getting a perfect badge design. Therefore, the circular text becomes more of a necessity.
Similar: How to Create Hover Effect in Figma
The Ultimate Figma UI kit & Design System

Untitled UI is the largest Figma UI kit and design system in the world. Kickstart any project, save thousands of hours, and level up as a designer.
In this article, you’ll learn how to curve a text in Figma:
How to Make Rounded Text in Figma
Figma doesn’t have an option to make rounded text, because it’s mainly developed for interface designs. In UI designing circular texts is not common.
So we have to use a plugin for bending the text in Figma. It is very easy to do once you have installed the free plugin.
1. Install Arc Plugin in Figma
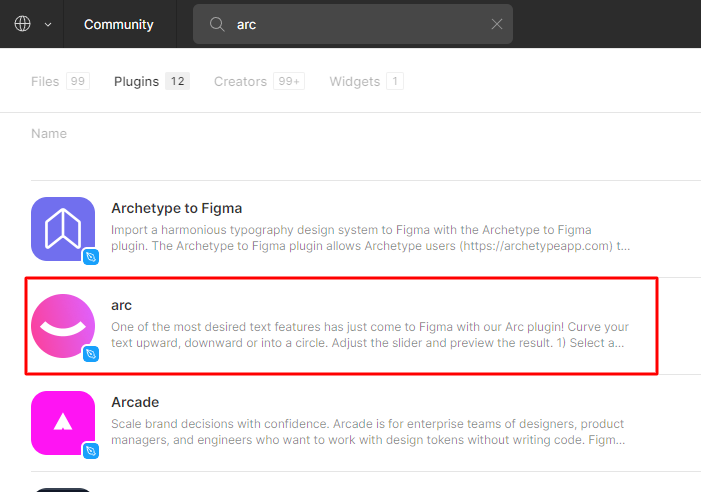
The first step is to install a plugin called Arc in Figma.
Arc is a free Figma plugin by Unfold. Arc helps you to Curve your text upward, downward, or into a circle. Also, this plugin lets you preview the result by adjusting the slider. Once the curve has been applied, you can still edit the style of the text. However, The curve path cannot be edited.
2. Apply the Plugin
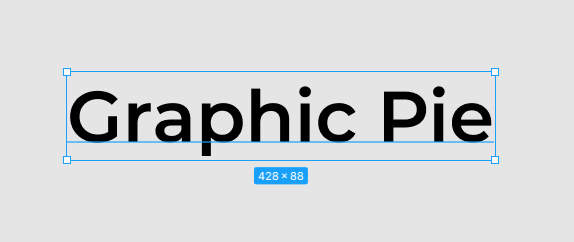

Create a new project after installing the plugin, then type the text you wish to use.
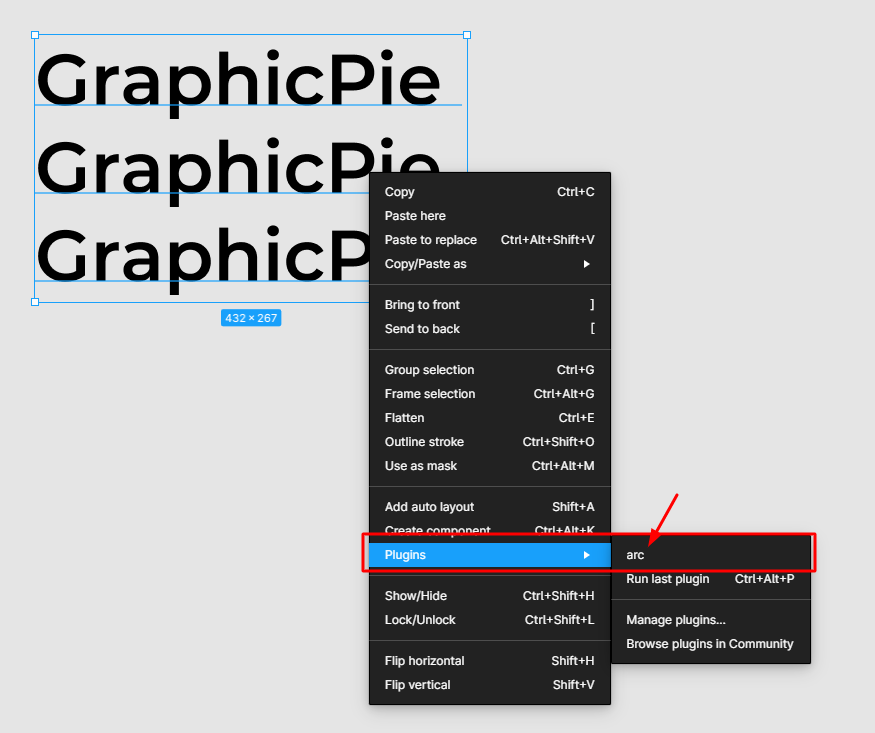
Right-click on the text layer and the layer options will come, choose plugins, and click on Arc.
A panel will come with a slider. You can play with the slider until you liked it. Then hit Apply.
3. Done
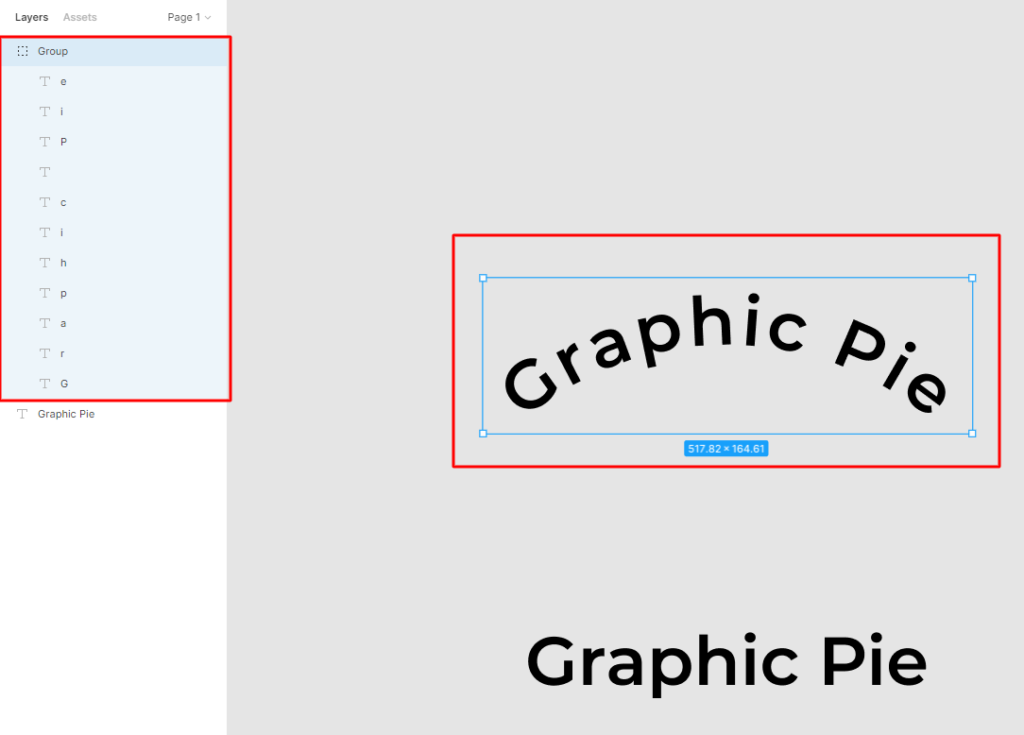
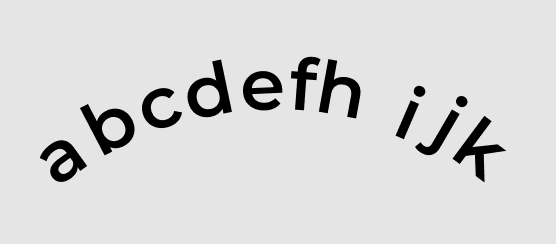
As you can see, After clicking the Apply button, the bent text will be formed in a separate group.
Your circular text has been created successfully. You can now use this text for creating artwork. That was easy, wasn’t it?
As i said earlier, you can’t adjust the bending of the text. You can retype the text by selecting and editing each text in the group. To get a perfect curve, you need to move and adjust the text.
Not working?
The method actually creates duplicates of words in some random places in your workspace if you find that it does not work. It can happen that sometimes you use it inside a frame and the output is outside the frame’s borders and has been clipped, so it isn’t visible. Use it when the text is directly on the workspace and not on an artboard.
In a nutshell, Figma is an application for interface design running in the browser, but it is much more than that. For team-based collaborative design projects, it’s the best application available.
In the same way, several plugins are available for the same purpose. If you want to achieve the same results, you can use them too. All of them are free.
- Circular Text
- To Path
- TextWrap
Wrap Up
This way, you can create circular text in Figma. You can use this when creating logos, posters, advertisements, and social media banners. Please let us know your thoughts in the comments if you need something like this.