
It’s not unknown that digital painting is taking over the world right now. There are so many new things we can explore. And it has become very easy to design something advanced. Thanks to the design tools available on the internet.
When we are talking about design tools, we can’t stop praising Krita. This software isn’t only free to use but you can get advanced-level features.
If you don’t want to spend your money on paid painting tools, Krita is the best option.
As we noted, this painting tool has so many top-notch options. Be it making a curved text or removing the background, Krita is very useful. If you want to make something professional, you might need to change or remove the background of the picture.
Don’t worry! It’s very easy to remove the background by using this app. If you are a beginner, just follow each step carefully.
That’s why we will share a step-by-step guide on how to make a background transparent in Krita. Keep reading to learn the process.
Remove Background in Krita – Step by Step
In Krita, you can easily make the background transparent. You must follow the correct steps in order to remove the background. Take the time to read and implement each step:
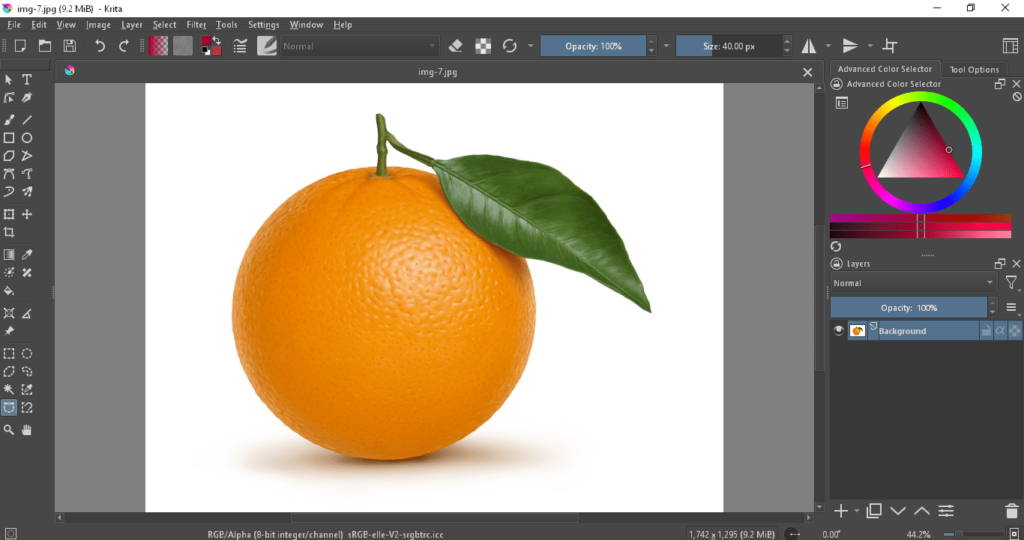
Step 1: First, open your Krita app. If you don’t have this app on your PC, go to the official website and download it for free. Go to the ‘Open File’ option and select an image from your desktop.
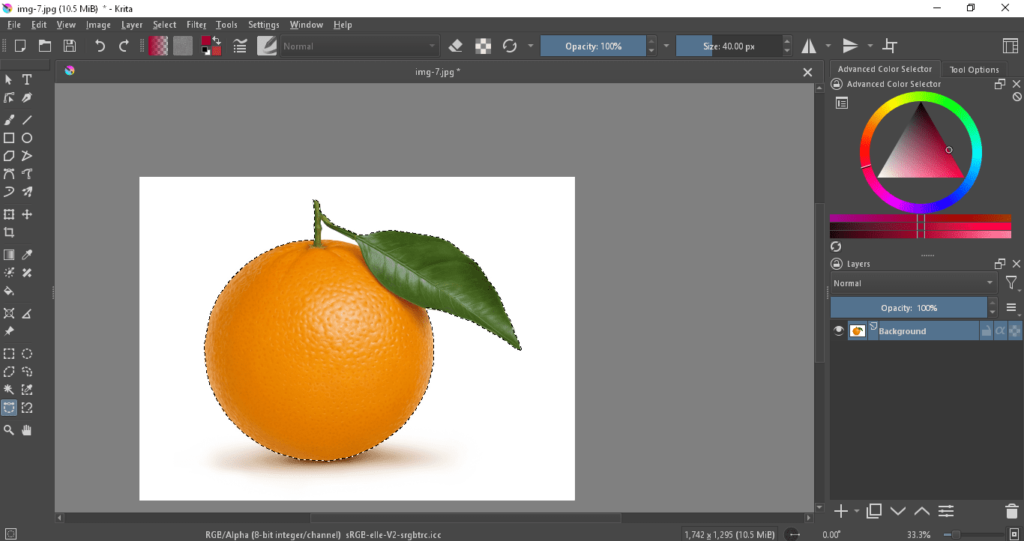
Step 2: Next, go to the ‘Bezier Curve Selection Tool’ on the left sidebar of your screen. And click on it.
Step 3: Now, this part is very crucial. You have to zoom the image as per requirement. And then start your rendering. It’s very easy. But you have to be careful. Make sure you are not double-clicking here.
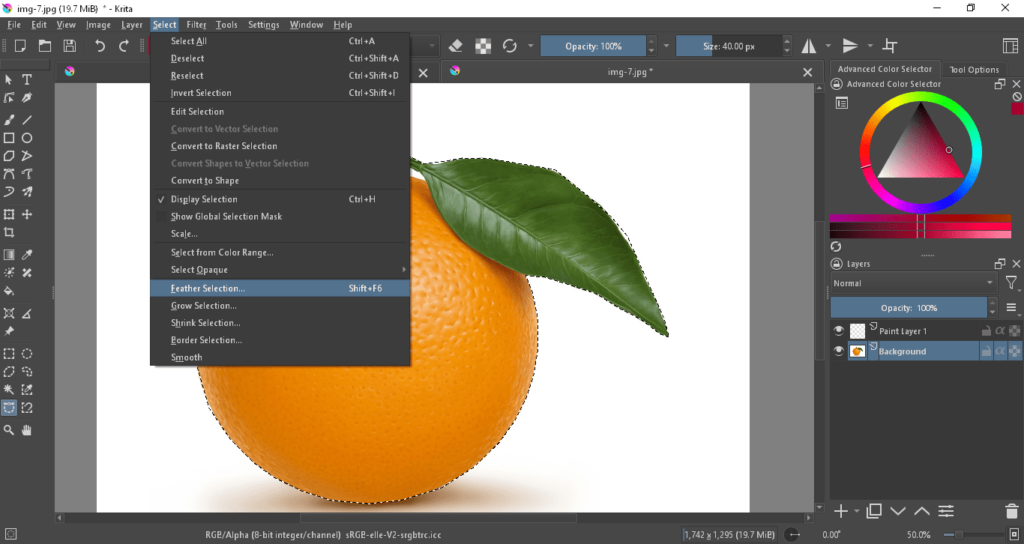
Step 4: After doing this process, you have to select Feather Selection. To do this, go to the ‘Select’ option and scroll down until find ‘Feather Selection’. Then, click on the Ok button.
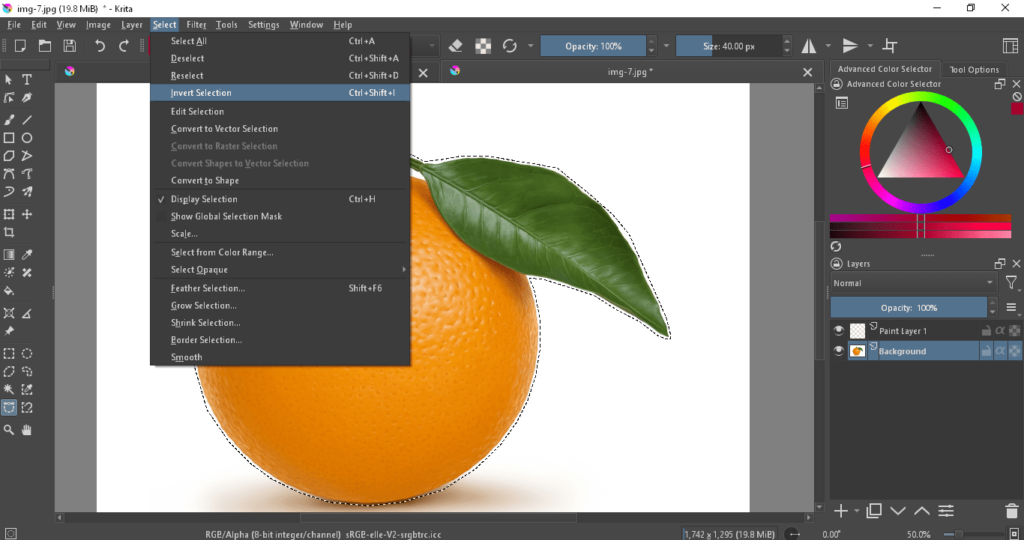
Step 5: Next, go to the ‘Select’ option and select ‘Invert Selection’. After doing this, press the ‘Delete’ button from your keyboard.
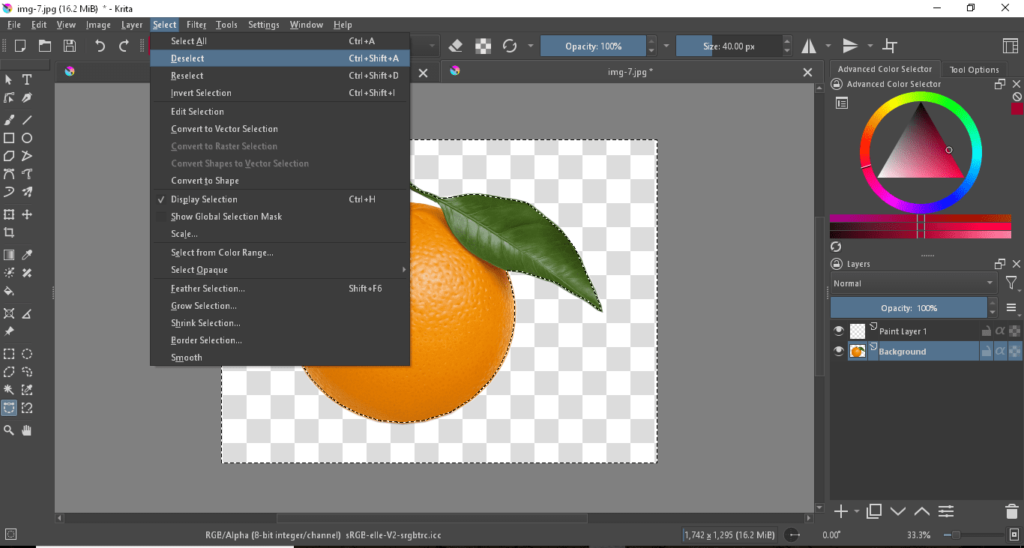
Step 6: When you have removed the background successfully, go to the ‘Select’ option yet again. And click on the ‘Deselect’ option.
Step 7: To save this painting, go to the ‘File’ option on the top left corner of your screen. Scroll down and click on the ‘Save As’ option.
How Do I Separate the Background in Krita?
To do this, you can upload a picture from your device. Then, it’s all Bezier Curve’s magic. Select the option to start your action by selecting the outer line of the object. In this case, you have to be a bit patient and creative.
We always suggest readers zoom in on the image to implement the steps with accuracy. And here, you also have to zoom in on the picture to create the outer line. Make sure you don’t double-click while doing this. Unless you have to start from the beginning again.
When you are done with the step, you have to select the Feather Selection and Invert Selection options. These two steps are very crucial for removing the background. After doing this, just press the Delete button and you will be able to remove the background.
You will see the outer line is still visible on the canvas. Many people skip this step but it’s also essential. In this case, you have to click on the Deselect option to remove the outer line from the object.
How To Save an Image with Transparent background in Krita?
The process of saving a transparent background design in Krita is very easy. However, keep in mind that you choose a PNG-type file to access the design in the future. To save your design, you have to complete all the steps first.
After doing this, select the Save As option from the File menu. A dialog box will be opened. Write the file name as per your preference. Next, you can find several options under the ‘Save as Type’ menu. Here, only select ‘PNG image’ for the transparent background.
Conclusion
You see, Krita is a very useful app for several tasks. With the proper guidance, you can easily make a transparent background. We have shared a step-by-step guide in this article. Make sure you follow each step carefully. For more details, you can either start your research or watch more tutorial videos.
Related Posts: