Krita is one of the most popular tools for graphic design. The developing company describes it as an open-source free painting program or application. The tool is just perfect for aspiring digital artists who take pleasure in creating concept art and graphical illustrations.
Time lapses have been super trendy among artists lately. Krita’s timelapse feature can be a savior if you’re a social media content creator who posts art online.
You can screen record in Krita and make a timelapse of your painting, this feature makes recording art convenient for all the digital artists out there!
The Krita timelapse recorder feature works almost as perfectly as the one in procreate.
However, procreate is a paid software and moreover, it is accessible only on iOS-powered devices. For this reason, Krita timelapse is your best bet for recording gripping time-lapses of your digital art.
Normally, artists record their time lapses using external screen recording software like Camstudio or shareX.
Krita’s recorder docker feature helps artists record their progress videos for social media seamlessly. Unlike other screen recording software, the recorder docker depends on FFmpeg. While you use the recorder docker feature, it takes snapshots of your art progress within a regular interval of a few seconds.
This makes the final output an illustrative timelapse of your artwork showing how you made it to your viewers.
Similar Post: Essential Krita Shortcuts
Step-By-Step Guide to Record Timelapse in Krita
Step 1: Before you start off, you need to install FFmpeg onto your system.
FFmpeg is a file format that the recorder docker feature depends on. In order to render your timelapse video from Krita, you need to install FFmpeg.
FFmpeg is currently available on windows, Mac OS, and Linux. The procedure to download FFmpeg is different for different operating systems.
For Windows
Click here to download the FFmpeg software for windows. Head to the “release” section on the page and select the download link that says
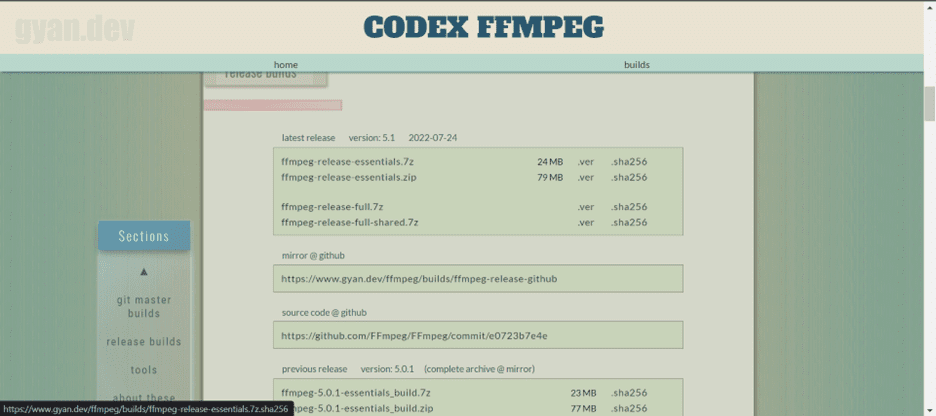
FFmpeg-release-essentials.zip
Ensure that you do not download the file whose filename contains “shared”, this version will fail to work with Krita. You must download the “.7z” file to ensure that your FFmpeg is compatible with Krita.
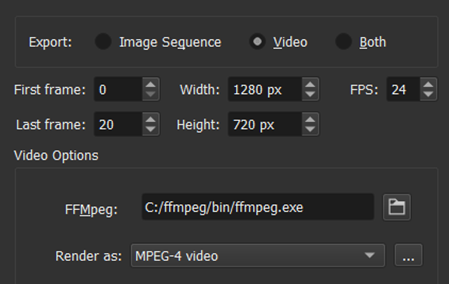
Once you’ve extracted all the files, launch Krita on your windows device. From the main screen, navigate to “file>>render animation”, under this you’ll find “export>video”. Click on the file icon, next to FFmpeg and select your FFmpeg file.
For MAC OS
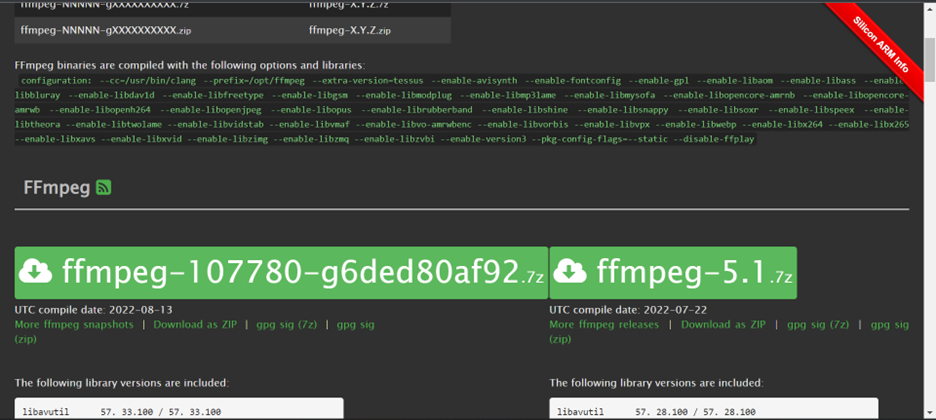
The installation procedure of FFmpeg for Mac OS is slightly different from windows. To download FFmpeg on your Mac device, head to this page. Once you open the page, click on the big green button on the left-hand side of your screen, it is located just under the FFmpeg heading. Doing so will download a “.7z” file on your system. Once done, extract the 7z file with any of the 7z extractors on your Mac device.
On Mac devices, linking Krita and FFmpeg is pretty straightforward. To do so, point to the FFmpeg location in Krita, for instance
“/Users/user/Downloads/ffmpeg”
For Linux
You can install FFmpeg for Linux from any of the repositories available online. You need to have at least version 2.6 for functional gif support.
For linking Krita and FFmpeg, you just need to point to the location of FFmpeg in Krita. The downloaded FFmpeg file is generally found in
/usr/bin/ffmpeg
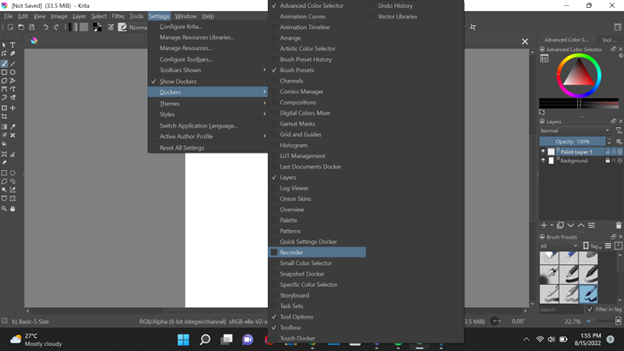
Step 2: Open the recorder docker under settings
On the menu on the top pane, you will find the “Settings” tab, click on it. From the drop-down menu, click on “docker” and select the “recorder docker”.
Step 3: Select a folder for recording the process
From the recording pane, select a folder where you want to export your timelapse video. We recommend you create a new folder to make things more convenient.
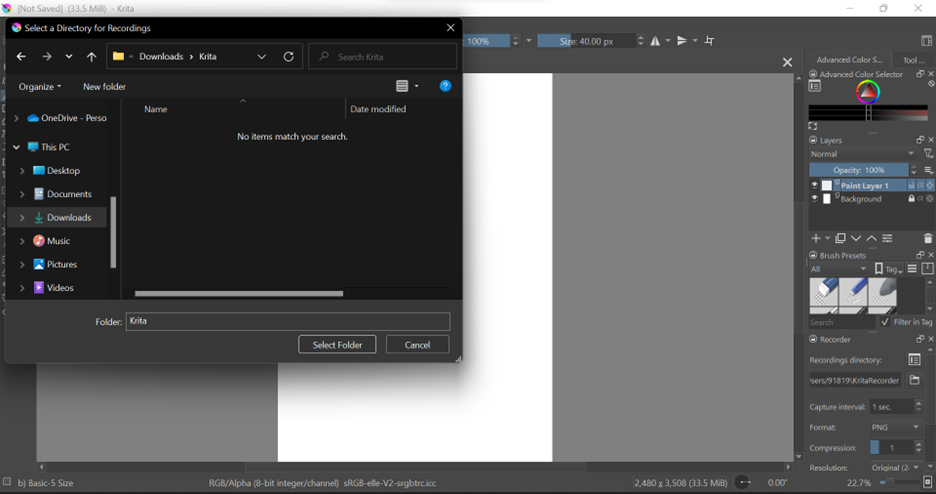
If you wish to make Krita record your process automatically, then click on “record automatically”, doing so will record the entire process from start to finish.
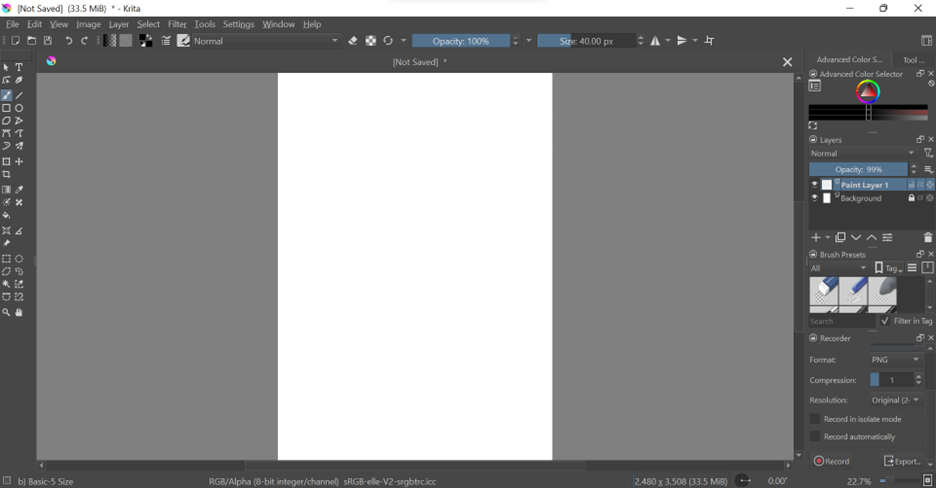
Step 4: Work on your art!
Once you’ve enabled the record automatically option, you can start working on your digital art. Meanwhile, the record docker is recording the changes you make to your art at regular intervals.
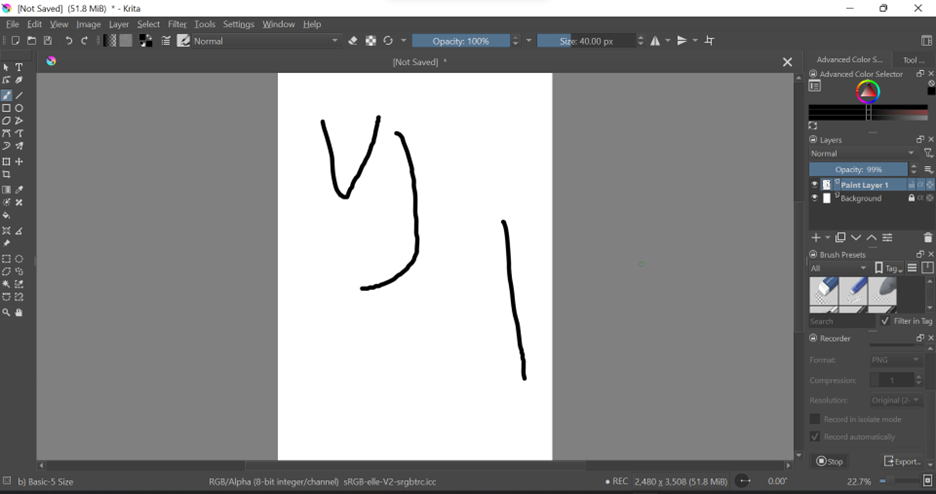
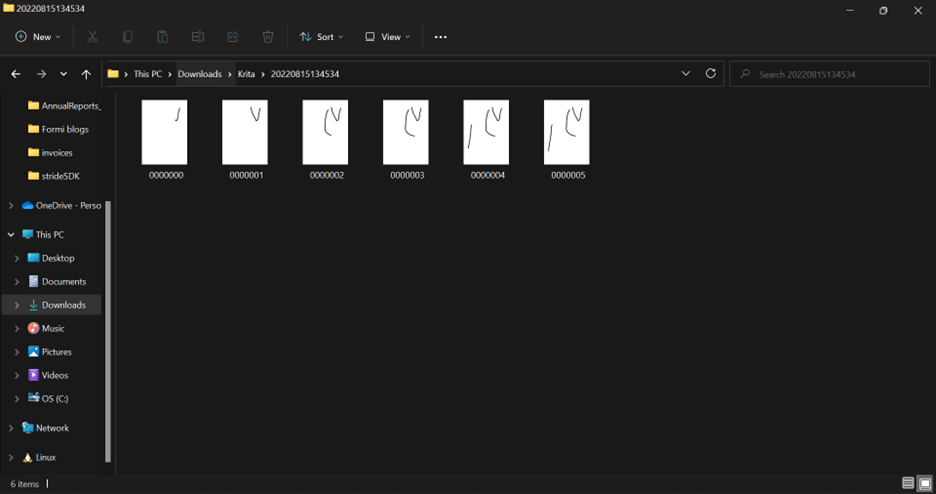
While you work on your canvas, you can open the recording directory, here you’ll find a folder called screenshots. The folder saves the snapshots of progress made on your canvas.
Step 5: Export to make your Krita timelapse
Once you’ve completed your digital art, you need to export it into a video format. To do so, click on export from the rightmost pane. Here, you need to select your file type. You can choose the video file type or even make a gif instead. Once you’ve tweaked all the settings according to your convenience, click on “export”.
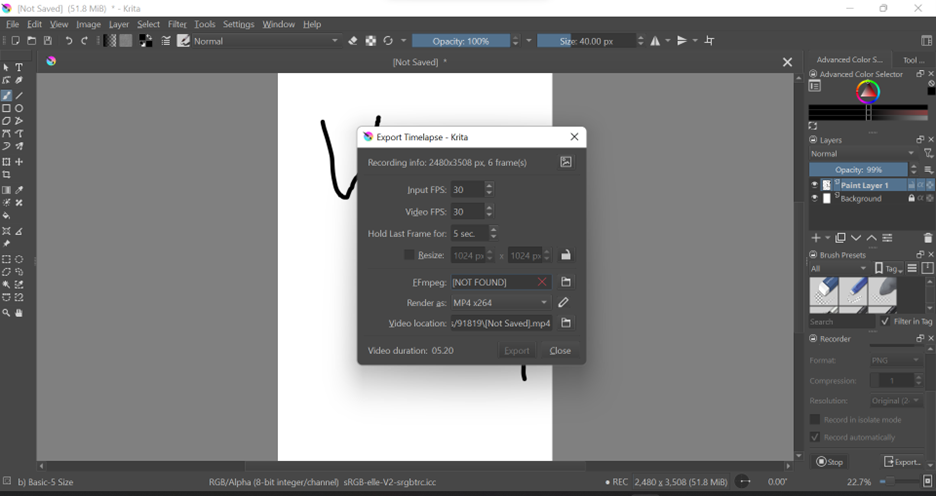
Doing so will export the video to your system, you can then view your Krita screen recording locally on your system
Ensure that you do not crop or change the original size of the canvas. Doing so will result in spoiling the resolution of the output video. The output video will be excessively stretched and would look undesirable.
If you wish to crop a canvas and make a timelapse video, you need to render one video before cropping the canvas and one after cropping the canvas. Once done, you can merge both videos to have a single Krita timelapse video.
Well, that was easy, wasn’t it?
Krita is indeed a very user-friendly software and has pretty cool features considering its open-source software. The time-lapse recording feature saves up a lot of time, energy, and effort.
If you’re a digital art creator who makes time-lapses for social media, you must try our Krita to make your work easier and quicker.
FAQs
How do I record progress in Krita?
Recording progress in Krita is fairly simple. You can easily do so by using the record docker feature.
To enable the record docker, head to settings which you will find on the top menu. Under settings, click on “docker” and select the record docker. Now select the folder where you wish to save your progress, and then toggle the record automatically option.
Now you can work on your art, and once done click on export to finally render your timelapse.
Can you record a timelapse in Krita?
Yes, recording a timelapse video on Krita is fairly simple. All you need to do is install the FFmpeg software onto your system. Next, you need to link up your FFmpeg and Krita software. Then you need to use the record docker feature available in Krita to record your timelapse video easily!
More Krita Posts: