
Want to create a glitch effect in Figma?
You’ve come to the right place. It’s super easy to make glitch effects inside Figma using a plugin. Let us show you how you can do that with a single click.
The glitch effect is created by altering the images to create waves, shifts, lines, and visual errors. It gives you a pixelated feel. Glitch effects are commonly used by modern designers.
We can create glitches in two methods, using a plugin (easier) and from scratch (time-consuming). Today we are going with the simple method, using a free plugin called ‘Morph’.
If you’re a beginner at Figma, check out our Figma tutorial posts.
Let’s get started.
Similar: Best Glitch Fonts
Glitch Effect in Figma
Step 1: Install the Morph plugin
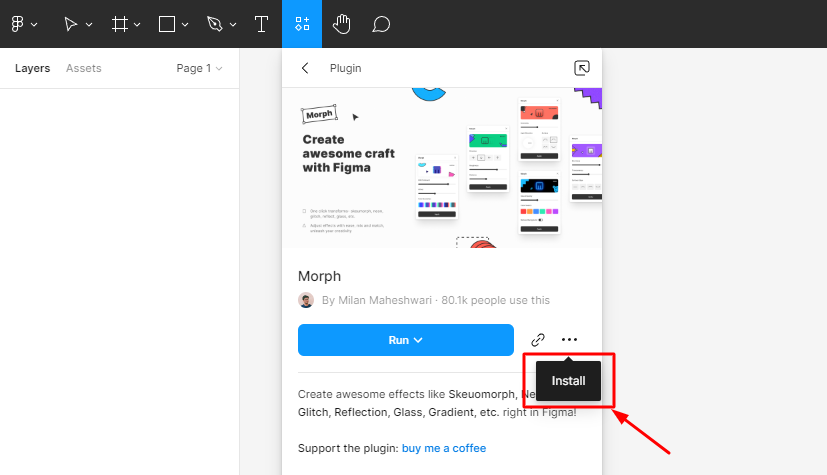
For creating the glitch effect we have to install a free Figma plugin called ‘Morph’. It is available on the Figma plugin store.
Morph is a free plugin that allows you to create cool effects like Skeuomorph, Neon, Glitch, Reflection, Glass, and Gradient in Figma. It is created by Milan Maheshwari
The possibilities are endless with this plugin.
As a UI designer, you should install this plugin. There is no doubt that this plugin is worth using.
Step 2: Create your Layer

After installing the plugin, you need to create the layer where you need to add the glitch effect.
The layer can be text, shape, image, etc. This plugin works on any normal layer.
For this tutorial, we have created a text layer, which you can see on the image.
Step 3: Run the Plugin
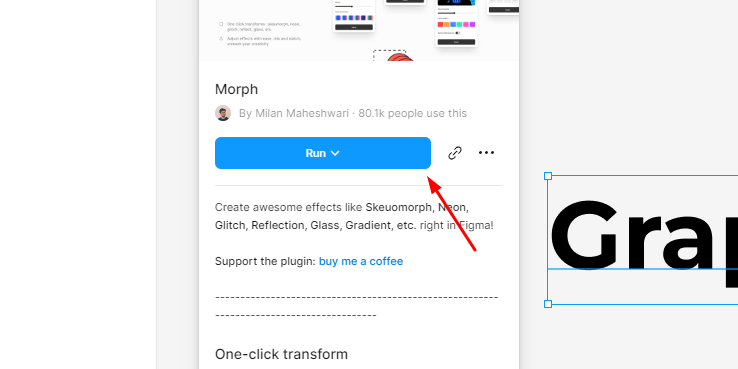
Select your layer and go to the Plugins tab and click ‘Run’.
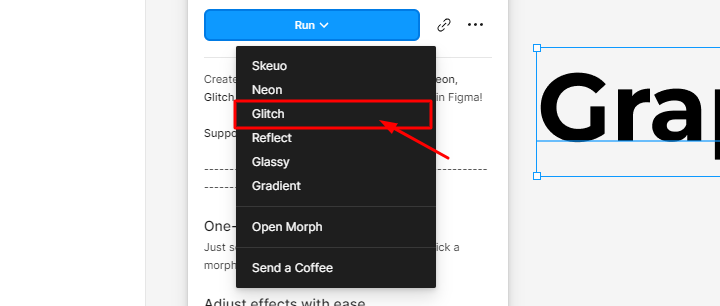
Then you’ll see a list of effects, choose ‘Glitch’.
Step 4: Adjust Glitch Settings
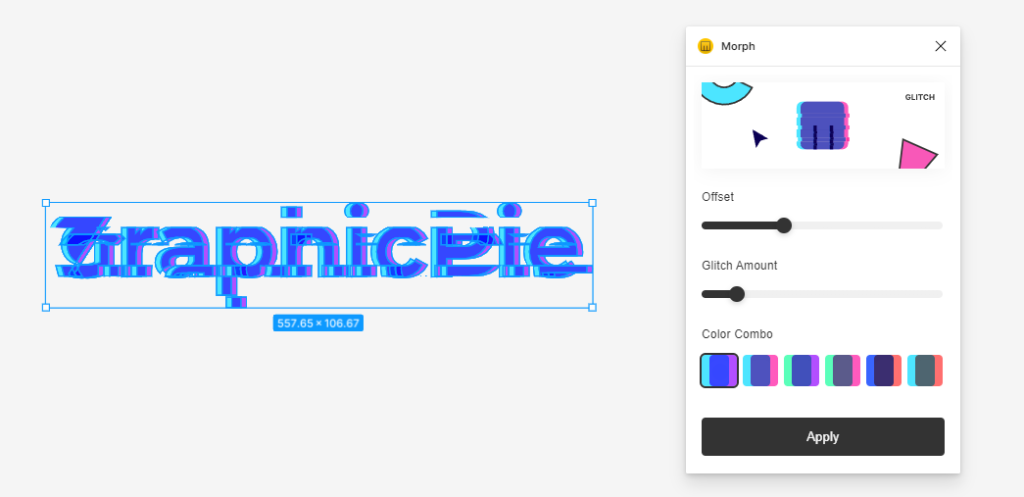
After choosing Glitching, the plugin will duplicate the layer and apply the glitch effect.
Along with that, we will get a settings tab. Where we can control the glitch properties.
There are 3 properties in the setting tab – Offset, Glitch Amount, and Color Combo.
- The offset will decide the difference between the glitch color layers.
- Glitch Amount is the intensity of the glitch effect
- Color Combo will allow choosing the glitch colors. Don’t worry we can change the colors later.
After adjusting the settings, click on Apply. Now we can see a new glitch layer.
Step 5: Change Glitch Colors
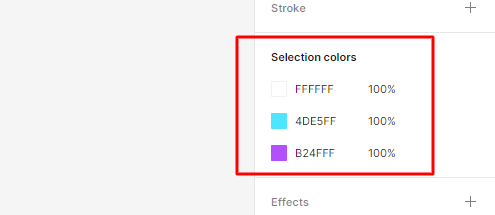
You can change the glitch colors even after applying the plugin.
As you can see on the image, you will get a menu with 3 glitch colors.
Change those colors as you like. That’s it!
How Do You Make A Glitch Effect In Figma?
You can create a glitch effect in Figma using a plugin called ‘Morph’.
Morph allows you to create awesome glitches, skeuomorphism, Neon, Reflections, Gradients, and more, right inside Figma. The process is very easy and straightforward.
Figma does not have an inbuilt option to create the glitch effect but we can easily create it with this free plugin.
You may also like: