
Blobs are pseudo-organic shapes that are used as masks or filled with gradients. They can be found everywhere. The trend in UI design is well-established. Blobs are used in professional designs to make them more cohesive and attractive.
In this article, I will show you how you can create blobs using Figma. We can create these organic shapes in Figma using plugins (easier way) and from scratch.
In this case, I’m going with the easier way, so you won’t have to spend a lot of time creating a simple shape. Another option is to use free SVG blob makers like the blobmaker.app. Nonetheless, I recommend you create using Figma since you can do that inside of Figma itself.
We’ve already shared some Figma tutorials on our website. Feel free to check them out.
Here’s how to make blobs in Figma:
1. Install the Plugin
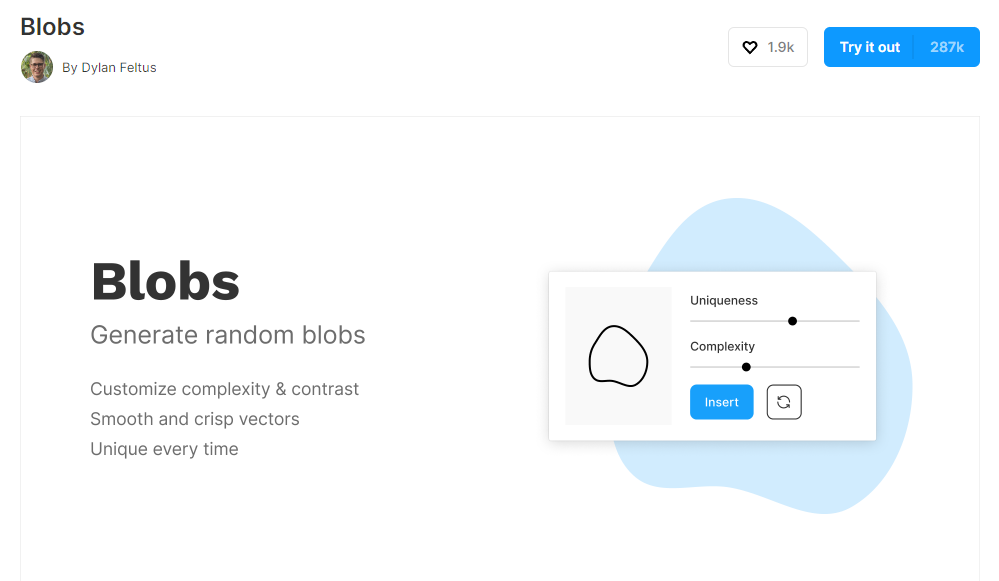
The first step is to install a plugin called ‘Blobs’ by Dylan Feltus.
It is a free Figma plugin installed by more than 280k designers. This plugin will help us to create smooth organic shapes very easily. The shapes are created in SVG format
It basically removes the complexity of creating smooth bezier curves in Figma. This plugin is the best choice if you are not comfortable using the Pen tool.
2. Create a New File

After installing the plugin, open the design file where you need to add the blob or create a brand new file.
Whether it is a landing page or mobile app UI design blobs work very well.
3. Run the Plugin
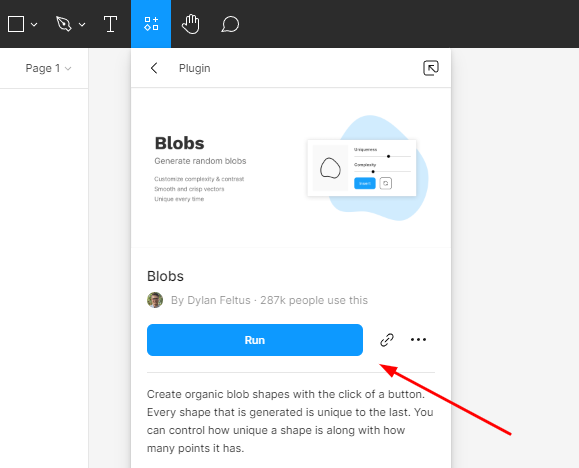
The next step is to run the Blobs plugin inside Figma.
For this, you have to click on Resources on the toolbar then Plugins, and search for Blobs. You’ll find the plugin there along with a ‘Run’ button.
Tap on the Run to add a blob.
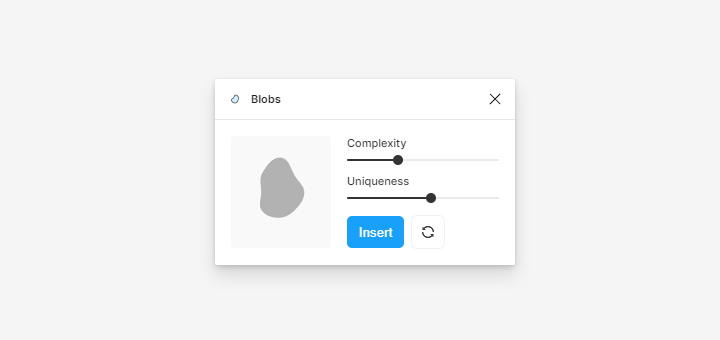
4. Adjust the Settings

This is the last step.
Now you just have to adjust the blob settings however you want.
As you can see we get two sliders – Complexity and Uniqueness
The complexity slider adjusts the no. of curves in the blob and the Uniqueness slider sets the organic shape of the blob. You can also click the refresh button to generate unique blobs.
After deciding on complexity and uniqueness levels, click on Insert to add the blob to your design.
That’s it!. You just created a unique blob to your design file.
TIP: Add Blur Effect
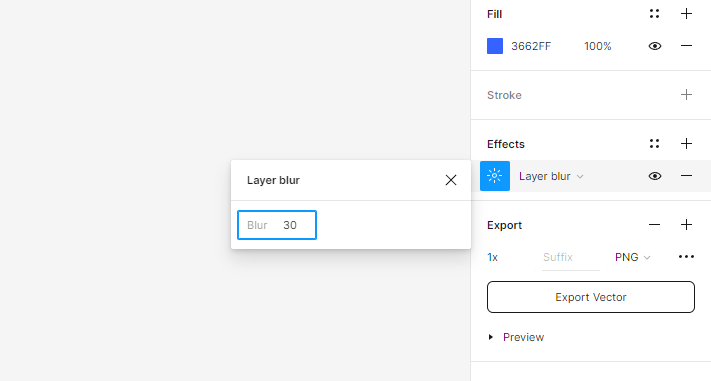

For making the blob more aesthetically pleasing, you can a blur effect.
To do this, click on the blob layer and change drop shadow to Layer blur in the Effects tab.
Now you can set the blur percentage. Please check the image for a better understanding.
Wrapping Up
Blobs are essential to make the UI design more cohesive and modern. As a designer, you must know how to create blobs for your designs.
You can create blobs easily by using a free Figma plugin. It saves a lot of time by removing the complexity of creating your own bezier curves.
I hope this article helped you, if so please share it with your designer friends.
Related Posts: