
The importance of designing is increasing day by day. However, it has become easier with online tools. In this case, Canva is one of the most popular online design tools right now. The best thing about Canva is it has so many features, even with the free version.
Adding bleed is an important feature of Canva. It’s very useful for professional use and digital printing. However, most people have no idea how to use this feature. Hence, some people also don’t know which is the right bleed to use.
If you have these doubts, we will clear everything. You see, adding bleed by using the Canva tool is very easy.
In this post, we will share the step-by-step guide to adding the right bleed in Canva.
So, let’s get started.
Adding Bleed in Canva
You see, when your design has perfect bleeding, it will look more attractive. However, you have to choose the right bleed as well.
To add bleed in Canva, you have to follow the right steps. Make sure you follow these steps to get the result:
Step 1: Go to Canva.com and open a new design by clicking the ‘Create a design’ button on the top right corner.
Step 2: Locate the ‘File’ option from the menu above. Then, select the ‘Show print bleed’ option.
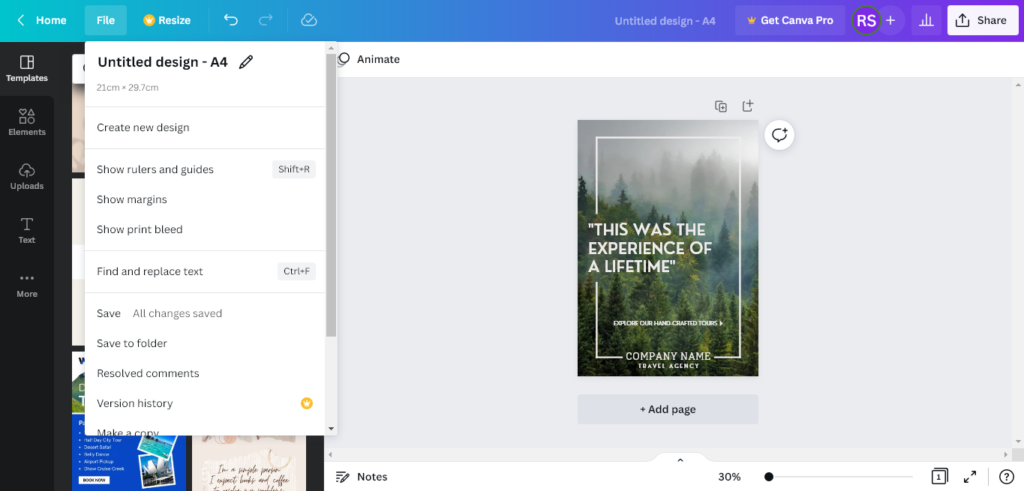
You will see a border of broken lines at the edge of the design. Canva has a fixed 1/8″ blend margin. And you can’t change it.
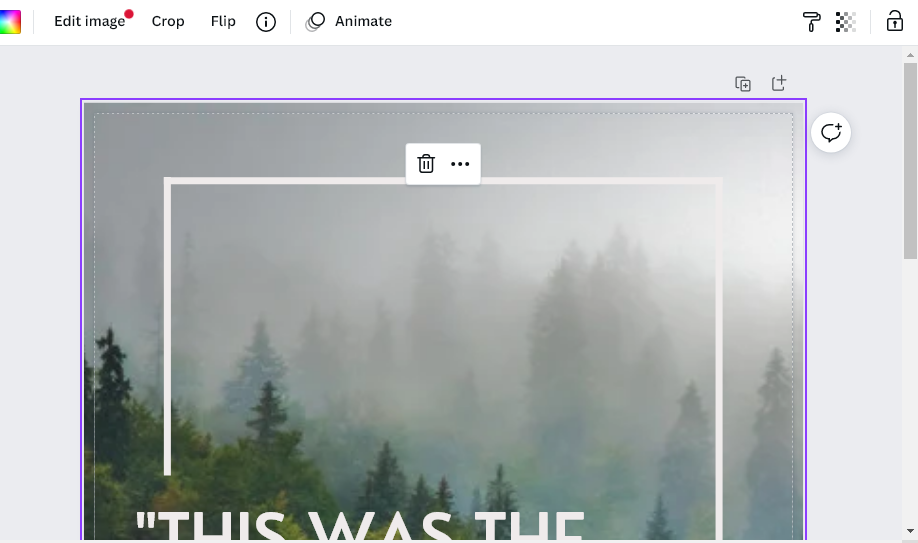
Step 3: Now, you have to understand which is the correct bleed and which is the incorrect one. If there’s a white gap on the edge of your design, it’s not the right bleed. For good bleeding, you have to cover the white gap.
Step 4: Your design is ready with bleed. If you want to use it, Canva will let you download the file. To download this design, go to the ‘Share’ option on the top right corner of the page.
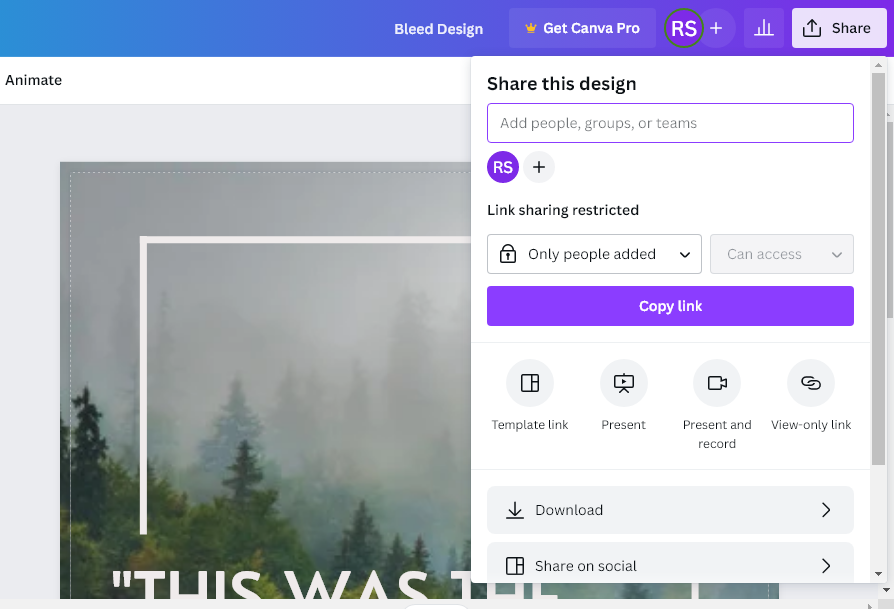
Locate the ‘Download’ sub-option and click on it. There are several file options available. You have to change the file type to PDF Print. Plus, make sure you check the ‘Crop marks and bleed’ box.
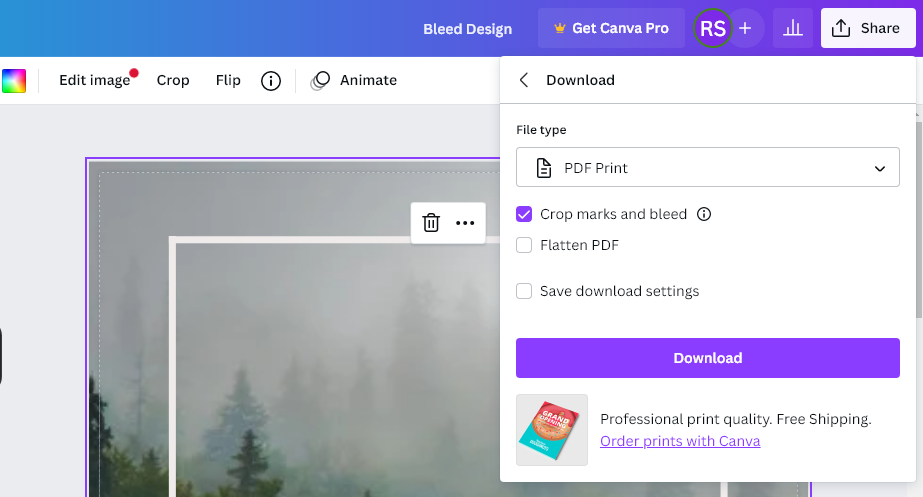
Click on the ‘Download’ button and save the file on your computer. You can also share the design on social media.
What is the bleed size on Canva?
As we noted before, print bleed is a useful feature on Canva. By applying this feature, you can go beyond the trip edge. This ⅛ inch allowance will let you prevent the white edge from your design.
If the page has a white edge, it will ruin the originality of your design. There will be a huge white gap. However, choosing the right bleed will solve this problem. And you will get the best final outcome.
Another thing you have to know is that print bleed and margin are not the same things. Well, they look similar as both appear as boxes. In reality, you can’t cut the area of the design while using margins.
However, it’s a different story for bleed. You can extend the background of your design by ⅛ inch from the trim size by using Canva print bleed.
Conclusion
Bleed is an underrated feature in Canva. Most people have no idea about this feature’s usefulness. If you want to make advanced artwork, print bleed is a good option. It will make your design more attractive.
By following the above-mentioned steps, you can get the best artwork with bleed. However, you also have to choose the right file type (PDF Print) while downloading.
You may also like: